Showing posts with label foodie. Show all posts

Thursday, 7 September 2017

On the Menu: Beef Misono

This recipe is my take on the ever famous Tokyo-tokyo beef misono, although I’m not particularly sure how my version compares since I’ve only had the Tokyo-tokyo version two times.  But my nieces always request this recipe whenever there’s available beef steak cut in the fridge, and being a good tita, I always oblige.   They definitely prefer beef misono over bistek tagalog, which is the only other recipe I know for beef steak cut.

I serve the beef misono over rice, of course, with no vegetables on the side.   Also I don’t quite remember if the Tokyo-tokyo version has sauce, but mine definitely doesn’t.  It turned out to be almost similar to beef tapa, but more flavorful.


Here are the ingredients I used for this recipe:

  • 500 grams of beef cut into thin one-inch slices
  • 3 tablespoons of soy sauce for marinade plus another 3 for the “glaze”
  • 2 tablespoons of oyster sauce
  • Splash of water
  • Ground black pepper

The steps I did are the following:

  1. First I marinated my beef slices in the soy sauce and pepper for 20 minutes. I made sure every single piece of beef was coated by mixing thoroughly with my hands.
  2. After 20 minutes, I placed a heavy duty pan with some vegetable on high heat.  Once the oil was very hot I dumped in my beef, making sure that they were all in a single layer.
  3. The beef released a lot of juice while frying, so I let it simmer until all the liquid had evaporated.   When all that was left was the oil I let the beef continue to fry.
  4. I combined the remaining soy sauce with the oyster sauce and splash of water.   I added the sauce to my beef and stirred to coat the beef with the sauce.  Again I let the beef simmer until all liquid had dried out and adhered to the meat.
  5. This is optional, but after I transferred my beef misono to my serving bowl, I quickly stir-fried some sliced onion rings in the same pan, just to absorb some of the goodness stuck to the bottom of the pan. Once the onions were translucent I used them to garnish my misono.

And that’s it! Hope you liked my version of the beef misono.  This is definitely a fam-favorite, especially with the kiddies.  Happy reading!
Read More »

Thursday, 31 August 2017

On the Menu: Beef Sinigang


beef sinigang

Nothing beats a cold, windy day than a perfectly good bowl of steaming Beef Sinigang. This quintessential Filipino dish is made from beef imported from… Tagaytay.   Yes, we went to the home of bulalo to purchase kilos of  beef because the meat there is much more flavorful than the ones here in Manila, or so I’ve been told.   Nevertheless, no matter where you purchase your beef, this asim-kilig sinigang will always be a family favorite.


I did take a couple shortcuts in preparing this dish.  First is that I used a pressure cooker because everybody knows that beef usually takes longer time to tenderize than pork or chicken.  Using a pressure cooker typically reduces overall cooking time in half.   Also, I used powdered sinigang mix instead of using real tamarind and taro (gabi), because I don’t know how to use real tamarind, and these sort of mixes make life a whole lot easier.


The array of vegetables I used in this dish are the usual sinigang staples: kangkong, okra, eggplant and string beans.  You can omit any vegetables you don’t like, but this set is our usual.   

sinigang veggies


  1. To prepare this dish,  I placed my beef, along with an onion sliced in half and some peppercorns, into the pressure cooker.  I added water just enough to cover everything and placed my cooker into high heat.  Once the pressure cooker started whistling, I lowered  the heat to medium and set the timer for 20 minutes.
  2. After 20 minutes I turned off the heat and left the cooker to release the pressure on its own.   This is important because you can NOT take off the lid with pressure still inside, or else.  You don’t want to find out what happens.
  3. When I was sure that all pressure had been released, I took off the lid and checked the tenderness of the beef.   Mine was tender enough to just fall off the bone, so I’m good to go.
  4. I added the vegetables first before the mix, because my mom said once that the veggies will cook faster without the mix.  I started with the string beans, gave it a 2 minute boil, then the okra, and finally the eggplant.
  5. Once the vegetables are all in, I finally added the sinigang mix.  Now take note that the amount is definitely to taste.  My brother wants the asim-kilig, while I prefer a combination of sour and salty.  I used fish sauce instead of salt to flavor the soup.

And there you go!  Beef Sinigang for the windy days.  Hope you enjoy and happy reading!
Read More »

Sunday, 27 August 2017

Foodie: Homemade Tuna Sandwich Spread and Easy Tuna Melt Sandwich

Has anybody else ever thought of mixing cheese and fish? Anyone? No? Well that never stopped me from making my very own homemade Tuna Melt with cheese. Very simple to make, only needs a handful of ingredients and definitely so satisfying.


Tuna Sandwich Spread


First on the agenda is of course making our very own homemade tuna sandwich spread. Very simple to make, and the ingredients are not hard to find at all. I used canned tuna in brine, plain mayonnaise, chopped half of an onion and salt and pepper to taste. Now let it be known that I am a pretty capable cook, but I do eyeball most of the ingredients. Therefore, not a lot of exact measurements here. I’d like to think of this as a technique post rather than a recipe post. Anyway…carrying on


I first drained the canned tuna very well, then gave it a quick chop into almost but not quite fine pieces

drained canned tuna


I then chopped half a small onion, which I nuked for one minute in the microwave. This method gets rid of the raw bite of the onion while still retaining its shape. Makes it a tad less noticeable by my picky nieces.

chopped onion


Finally I combined all ingredients together in a small bowl, squeezing in just enough mayo to my liking. My preference leans toward the liquidy side so I put more mayo but you can definitely reduce to your liking.


There you go, homemade tuna sandwich spread. Perfect for crackers or bread slices during snacktime. As for me, I took it to the next level with this tiny gem


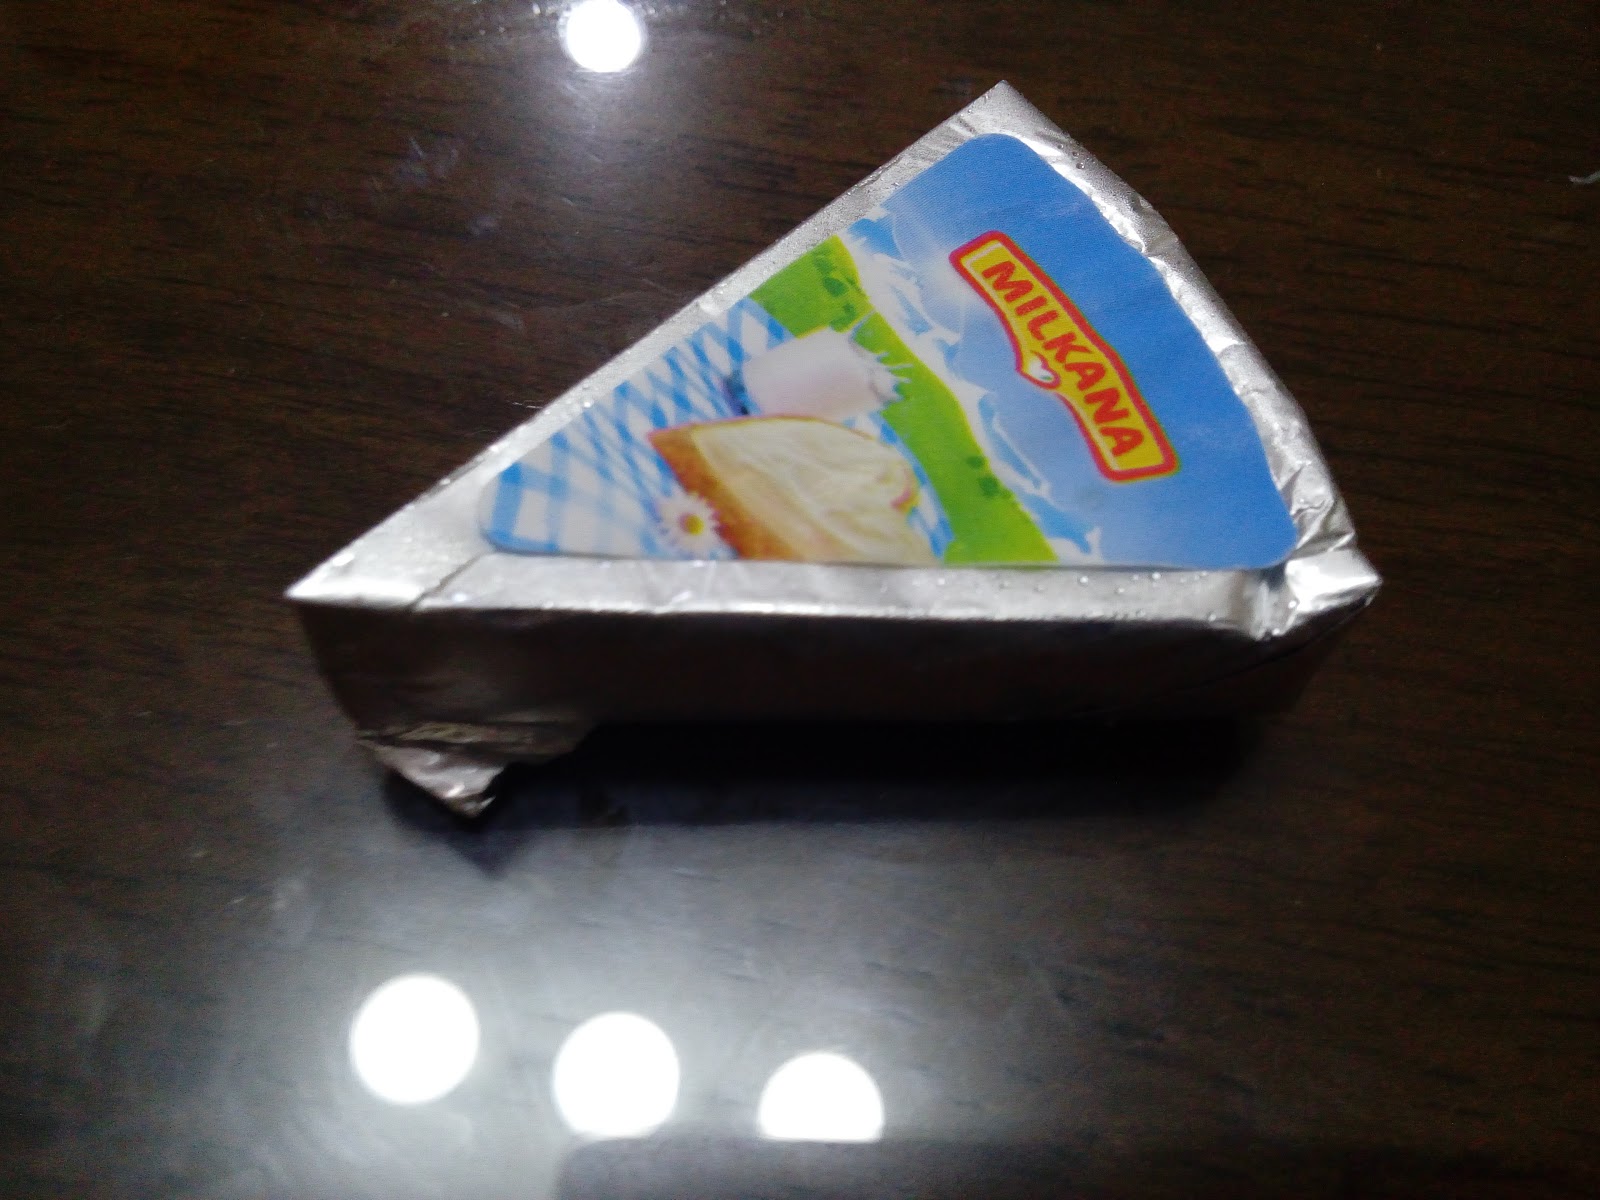
Those cream cheese triangles we see in grocery stores gave a whole load of flavor and creaminess to my tuna melt. I spread half triangle of this cheese each to two slices of bread, topped with my fantastically delicious tuna sandwich spread. I made sure every inch of the bread is covered in my concoction before toasting.


homemade tuna melt


There you go! Perfectly simple yet utterly satisfying tuna melt sandwich. No other fancy ingredients for those who can’t find them, just basic, no muss no fuss quick meryenda.


Thanks for reading!
Read More »